Medical Transcription
Phlox converts audio recordings into structured clinical notes. You can record ambient audio, dictate, run the live agent, or upload audio files; in each case the audio is transcribed and the transcript is turned into a note based on your selected template.
Scribing Modes
- Ambient — record the encounter; Phlox transcribes and generates the note.
- Dictate — dictate content that the LLM formats into the note fields.
- Live agent — drafts the note in realtime while the consultation happens, and acts on spoken requests. See the dedicated Live Agent page.
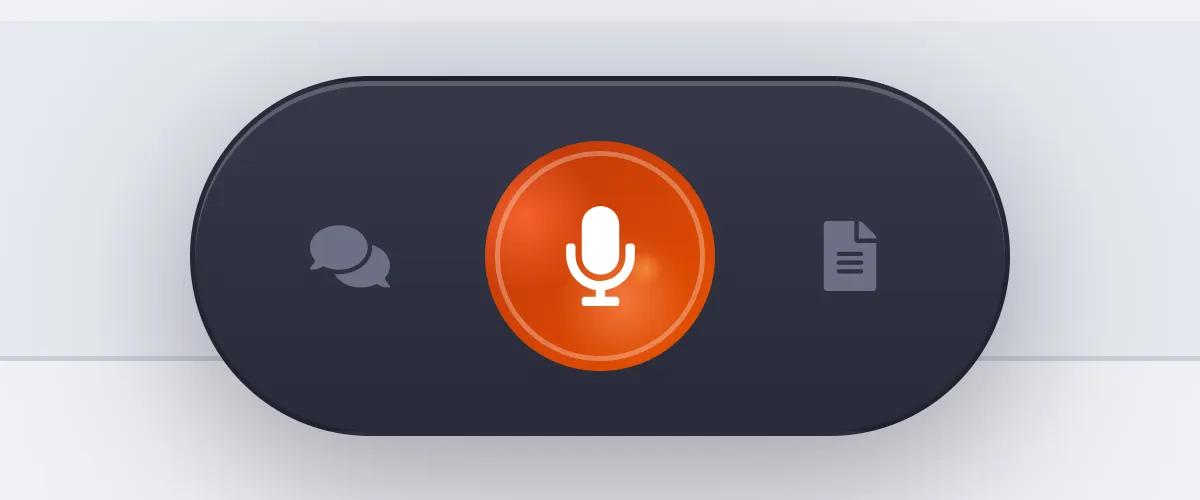
Switch modes with the mode dial (the left button) on the scribe pill box in the encounter workspace; your choice is remembered between visits. The mode dial is locked while a recording or live session is in progress. You can also drag and drop an audio file directly onto the pill box to transcribe it.

Transcription engines
- Desktop app: uses the bundled parakeet.cpp engine (Omi Med STT v1) by default — no external service required. The default model is English-only; selecting a non-English language offers a downloadable multilingual Parakeet model (25 European languages).
- Docker / custom: point Phlox at any Whisper-compatible endpoint in Settings → Admin Settings → Whisper. Remote endpoints support any language.
Streaming capture
On the desktop app, Ambient and Dictate recordings are transcribed while you record: speech is segmented into utterances on-device and each one is transcribed (and speaker-labeled) as it finalizes. The growing transcript also pre-warms the local model's prompt cache. If anything goes wrong mid-recording, Phlox automatically falls back to transcribing the full recording at stop.
In Docker deployments this is off by default (some practices prefer a single batch call to their transcription server); administrators can enable Streaming capture in Settings → Admin Settings → Policy. When enabled, speaker labels come from Phlox itself, so a plain non-diarizing Whisper endpoint is sufficient for Ambient mode.
Consent
If Require patient consent for ambient scribing is enabled in Settings → Admin Settings → Policy, Phlox prompts for explicit patient consent before starting any mode that records the consultation — Ambient or Live agent. See Patients → Ambient Scribe Consent.
Recording requirements
To start any recording (or a live session) the encounter needs a patient name, date of birth, and UR number — the pill box's record button stays disabled until they're present.
Usage
- Record / upload / dictate / go live
- Use in-browser recording (with pause/resume), drag-and-drop an audio file, switch to Dictate mode, or start a live agent session.
- You can also upload a document (PDF, Word, or .txt) via the Document Upload button in the Floating Action Menu — see Document Upload below.
- Generate the note
- Audio is transcribed (Whisper/parakeet.cpp).
- The LLM processes the transcript into a structured note based on the selected template.
- Review & save
- Edit the generated content.
- Save the encounter, or use Wrap Up to confirm tasks and finish — see Task Manager.
- Copy to your EMR or keep the note in Phlox.
Failure recovery
If transcription fails, the scribe controls offer Retry, Download audio (so the recording isn't lost), and Dismiss. You can also reprocess a raw transcript from the transcription panel (for example, after changing templates or models) without re-recording.
Document Upload
The Document Upload button in the Floating Action Menu opens a per-encounter panel that pulls content out of a document and into the current note. (This is distinct from your knowledge base of reference literature, and from demographics auto-fill.)
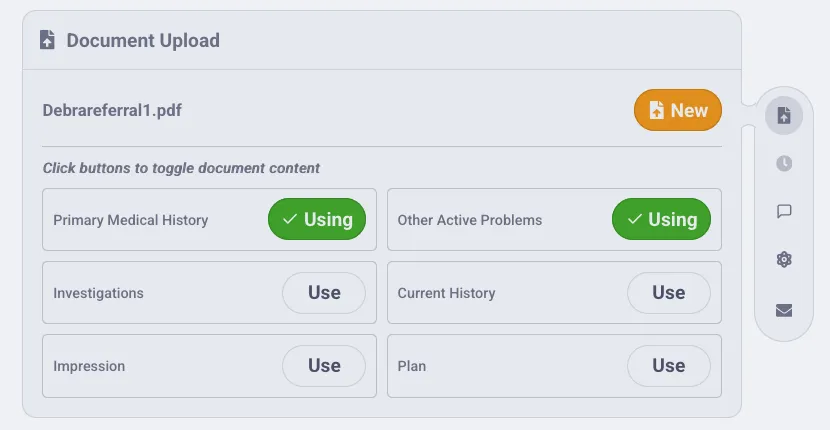
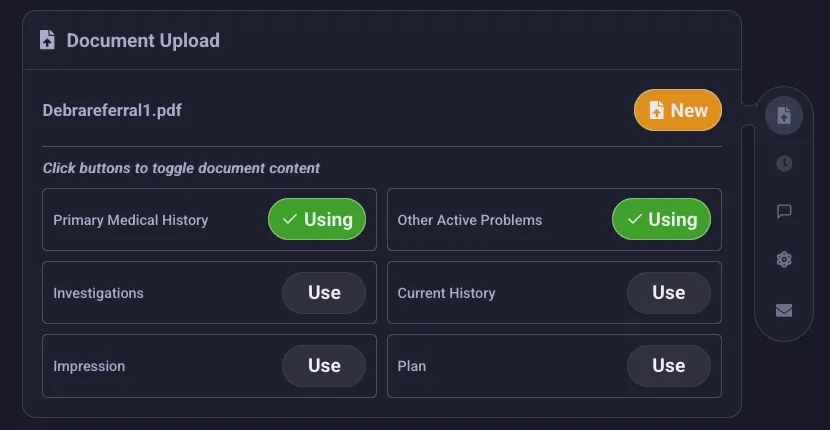
It accepts PDF, Word (.doc/.docx), or .txt (file picker or drag-and-drop). When you process a document, Phlox extracts the text and presents it per note-template field, each with a Use / Using toggle that injects the content into that field — nothing is auto-filled, you choose field by field.
How a document is decoded depends on the global Document/Image Processing Mode in Settings → Admin Settings → LLM tab, combined with a runtime vision-capability probe:
- Auto (default): uses the PDF text layer when usable; otherwise sends page images to the vision model if capable, falling back to text extraction (+ OCR on Docker).
- Vision only: always renders pages as images and sends them to the vision model. Requires a vision-capable model.
- OCR only: text extraction (pypdf) with Tesseract OCR fallback. Works with any model but may miss content in scanned documents. Tesseract is Docker-only — desktop builds have no OCR fallback.
Use Test Vision Support in the same tab to check whether your model is vision-capable; the result is cached and shown as a badge.